There are so many zero waste food storage solutions out there, but they tend to be expensive. Like many Americans, I am short on both time and money. Nonetheless, I am a fan of zero waste food storage. Although I once relied mainly on old butter and cream cheese containers, I am increasingly choosing food items that don’t come enshrouded in plastic and thus have to actually buy containers.
As my old containers wear out, I have been trying to slowly replace them with more eco-friendly solutions. Similarly, I have been trying to buy beeswax sheets and other natural options to plastic wrap and ziploc bags. While these options are probably more economical in the long run, they definitely cost more upfront.
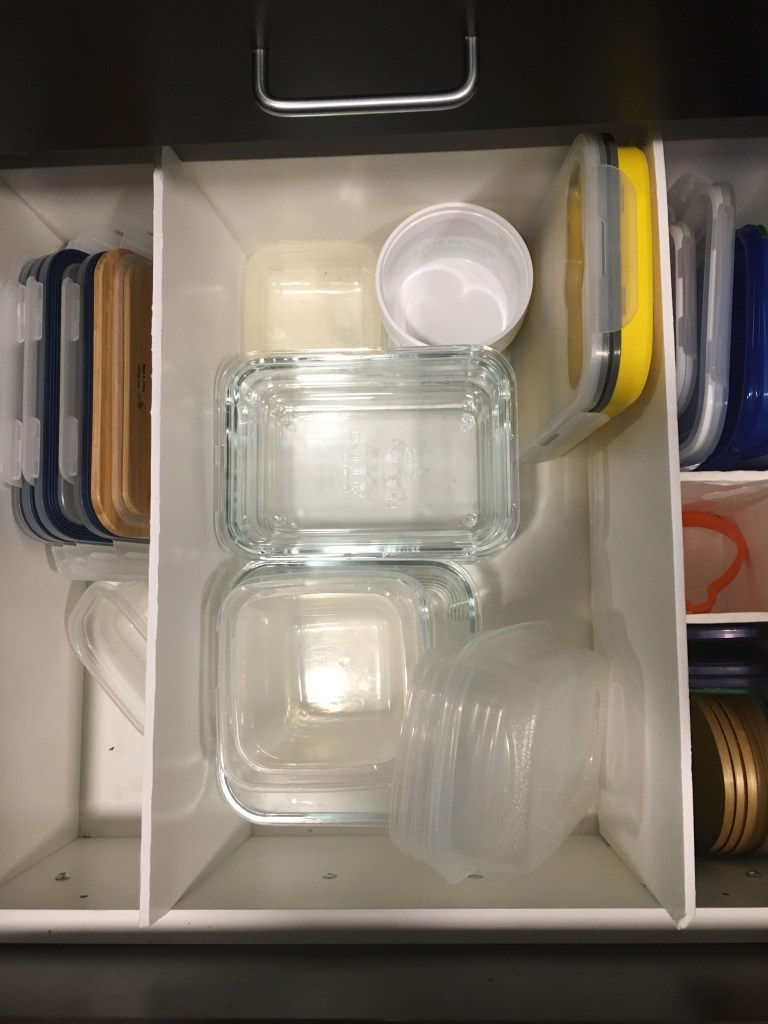
My “Tupperware drawer” (in scare quotes because I have never bought actual Tupperware) is slowly becoming filled with less plastic and more glass and silicone. I get deals when I can find them and DIY when I can’t. After all, a zero waste lifestyle should not be a matter of feeding cash to an endless industrial machine.

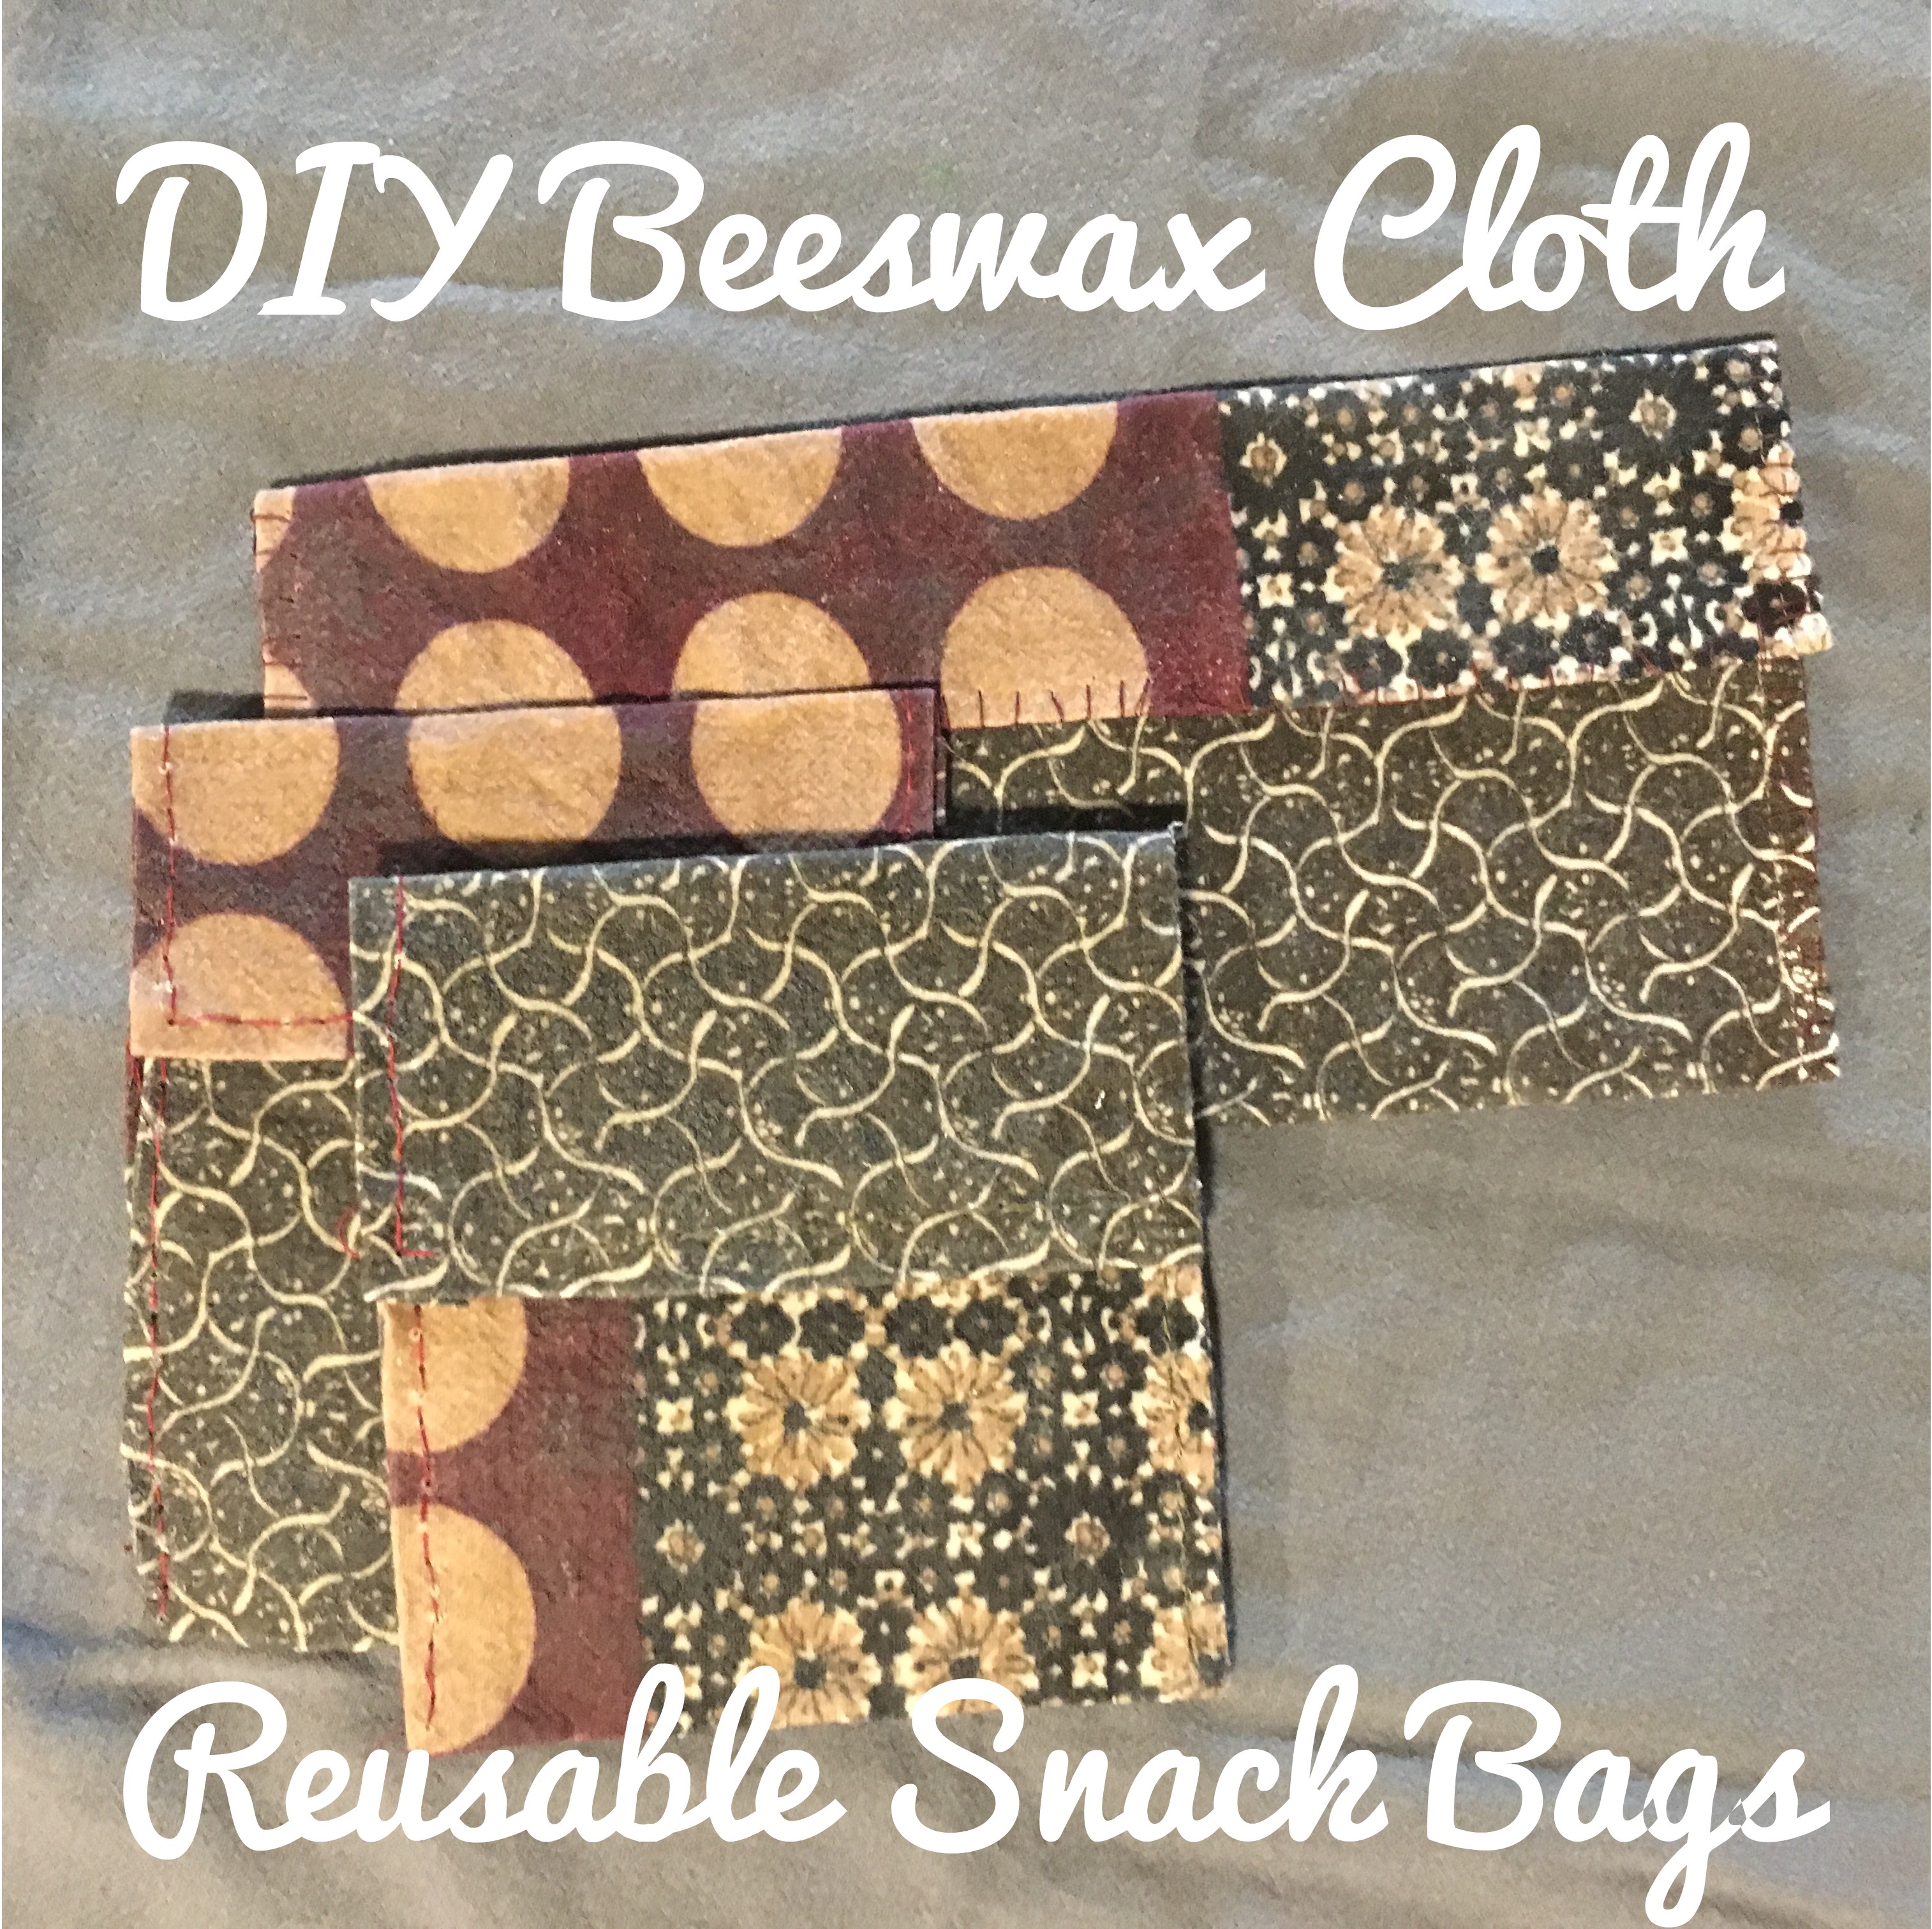
Simple instructions for DIY beeswax bags
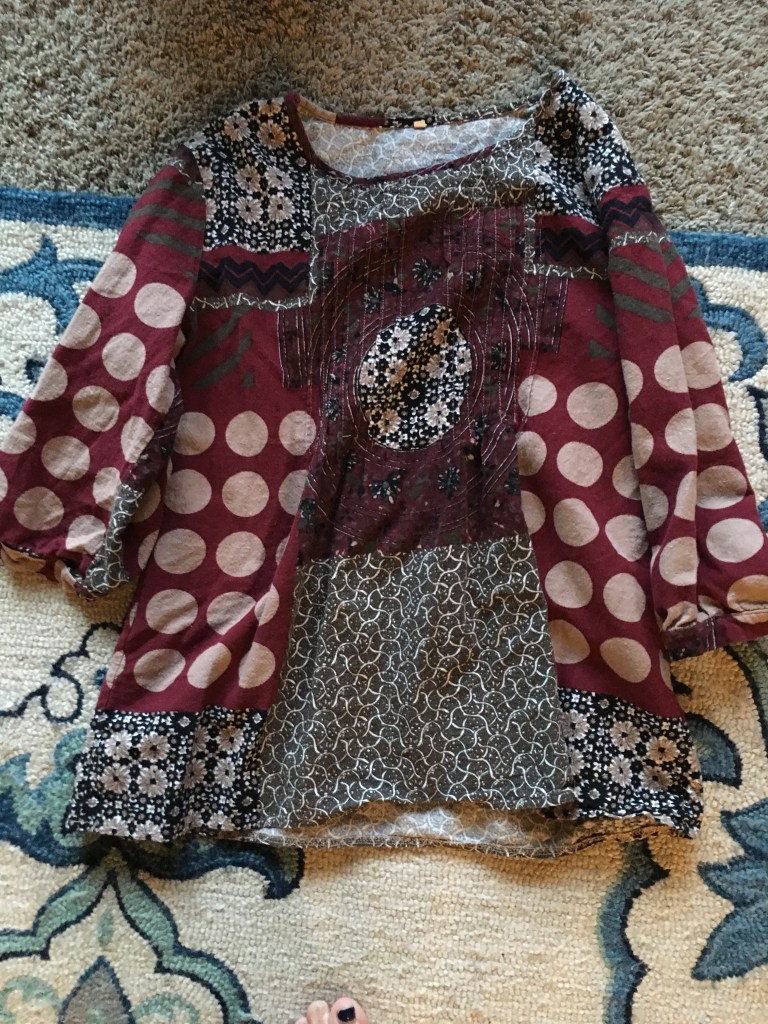
Many of the eco-friendly options are not just green and durable, but more interesting. Who wants a clear plastic bag when you can have fun prints? Because I save old clothes for repurposing, I decided it would be a fun and affordable project to repurpose some of this fabric into food storage.
I chose a cotton top from my discard bag and set to work. First, I cut out large rectangles. To determine the size of these, I measured out a piece of bread, doubled this to allow enough cloth to cover both sides of the sandwich, and then left enough room for margins as well as a flap to fold over the top.
I then covered my fabric rectangles with beeswax. I bought a 16 oz block of food grade beeswax off Amazon for $15 for this job. I quickly learned that grating beeswax is not a job for the faint hearted. I ended up chopping it into small pieces instead and sprinkling them on the cloth. In the future, I will buy beeswax pellets instead of a block to eliminate this step.

The beeswax covered material was then baked on a cookie sheet layered with parchment paper in an oven at 250 degrees Fahrenheit until the beeswax had thoroughly melted and coated the fabric. This took about 15 minutes. When the waxed fabric was still warm enough to be pliable yet not hot and liquid-y, I folded my baggies into the rough shape I wanted. I hemmed and then whip-stitched them into pouches.
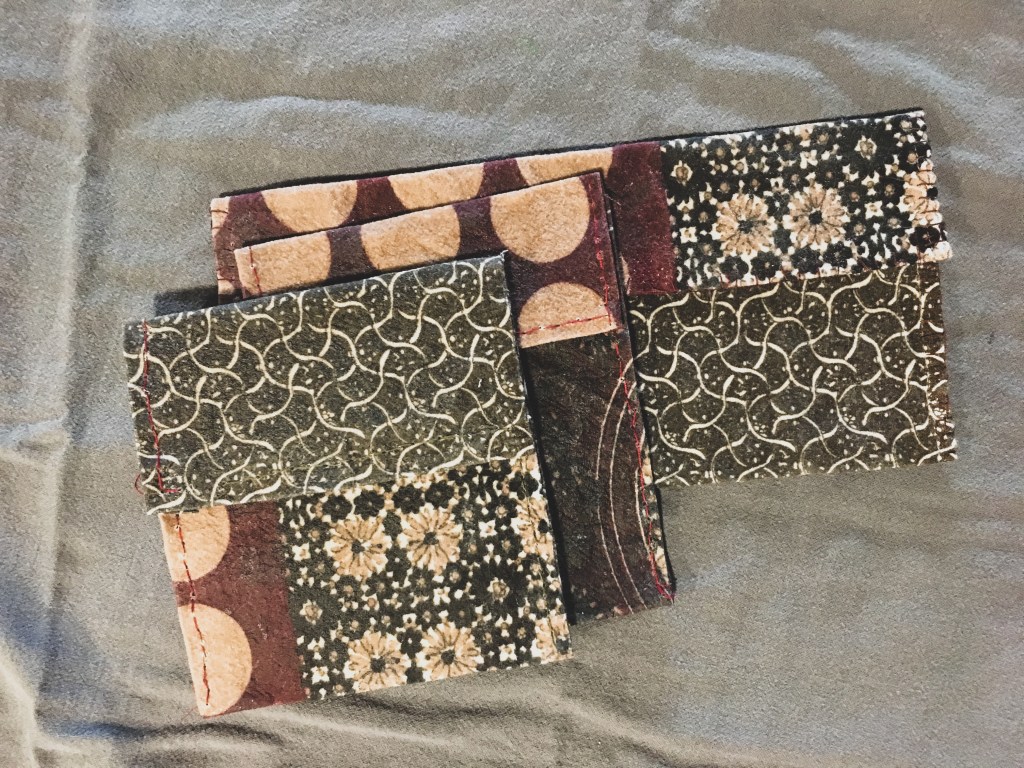
I have already used these “baggies” for several sandwiches and snacks. While not completely airtight, they are secure enough to keep moisture in a sandwich for the several hours it will be in a work refrigerator. If I wanted them to be airtight, I think I would take a warm iron to the sewn edges so the beeswax on both sides fuses together. The fabric is flexible yet stiff, so I did not add a button or Velcro strip to hold it closed. I might do so in the future if spillage becomes an issue.
Is this project worth it?
Because I used discarded cloth, this was a crazy cheap project. About 2 oz of beeswax was needed for each bag, making the cost roughly $2 each. The cost of a warm oven is negligible. Each baggie took probably 5 minutes in preparation and then 25 minutes in sewing by hand. I did this while watching Hulu, so it did not take time out of my day.
Considering that reusable food baggies can cost $5 or more a piece, I think this is a win.
On a side note, I recommend saving and reusing clothing that is nearing the end of its usable life, particularly if it is made of natural materials like cotton or linen. While giving to charity is always a great option, many charities send a huge amount of donated clothing and household items to the landfill. If you wouldn’t pay $5 for the item you’re about to donate, thrift store shoppers will likely agree. It might be best to find a new use for it rather than assuming someone else will like it enough to choose it out of the sea of options at your local thrift store.
I still donate plenty of clothing but I try to repurpose where I can. You never know when you might decide to sew some reusable baggies or a new throw pillow cover.

[…] I also have made my own baggies using scrap cloth and beeswax. While these aren’t completely airtight and thus won’t work for the freezer, they’re great for lunches and very cute. I used material from a hand me down shirt that was getting close to worn out, so this is a very low waste option. You can read more about it here. […]
LikeLike